Wednesday 19 April 2017

Washer Bottle


Now this is the benefit of having a donor car and cash savings can be made.
Here i have my OEM washer bottle fitted ( £25 saving ?). I used the original bracket with some minor modification (mainly cutting bits off) to fit it (£10 saving). I even made the smaller brackets that fit it to the chassis rail and foot plate panel from the same OEM bracket. £30 to spend somewhere else (brake pipes, p clips, bolts ?). 

Did I mention about masking tape ?

Was this made for the Zero ? 


Steering Column Shroud


Had a play about with the oem steering column shroud.
I got it too fit quite well without too much work.
I used my bench grinder to grind the top half of the plastic shroud down a bit at a time until it fitted. A couple of little gaps that i'll remedy when doing final trimming.


Note OEM dial cluster. 
It took a lot of measuring and measuring and measuring , you get it, before cutting holes in an £80 piece of fiberglass.
Not finished yet, and will show the end result in a blog to follow.


Brake Pipes

I've not had a lot of time lately to move on with the build, as in my last post i'm building up the money pot a bit for the next big spend.
I had bought the bits to do the brake lines a while ago, but couldn't decide on the routing of the pipes, so after much thought and the need to keep moving on, I've committed myself to the following....... 

Ok, this is the flaring tool you need. I initially bought a cheap tool, £14 for the flaring tool (the type where you clamp the pipe then screw down the flaring bit whilst it's all held in a vice), pipe bender and pipe cutter. So, my logical way of thinking was, if the tool is no good, I'd have a pipe cutter and pipe bender for £14 😊. 
My logic was correct, the tool created a flare, but it left pinch mark on the pipe where its clamped. I wasn't happy with that, so bought the tool below. Believe me, this is the tool to have, so easy. Oh, I've paid £14 for a mini tube cutter !!!😒. Didn't use the pipe bender either, the ones we call "thumbs" did a better job. ( I must ignore Logic in the future ). From memory, the tool is called Franklin hand held pipe flaring tool. Plenty on the internet on how to use it, and paid about £30.


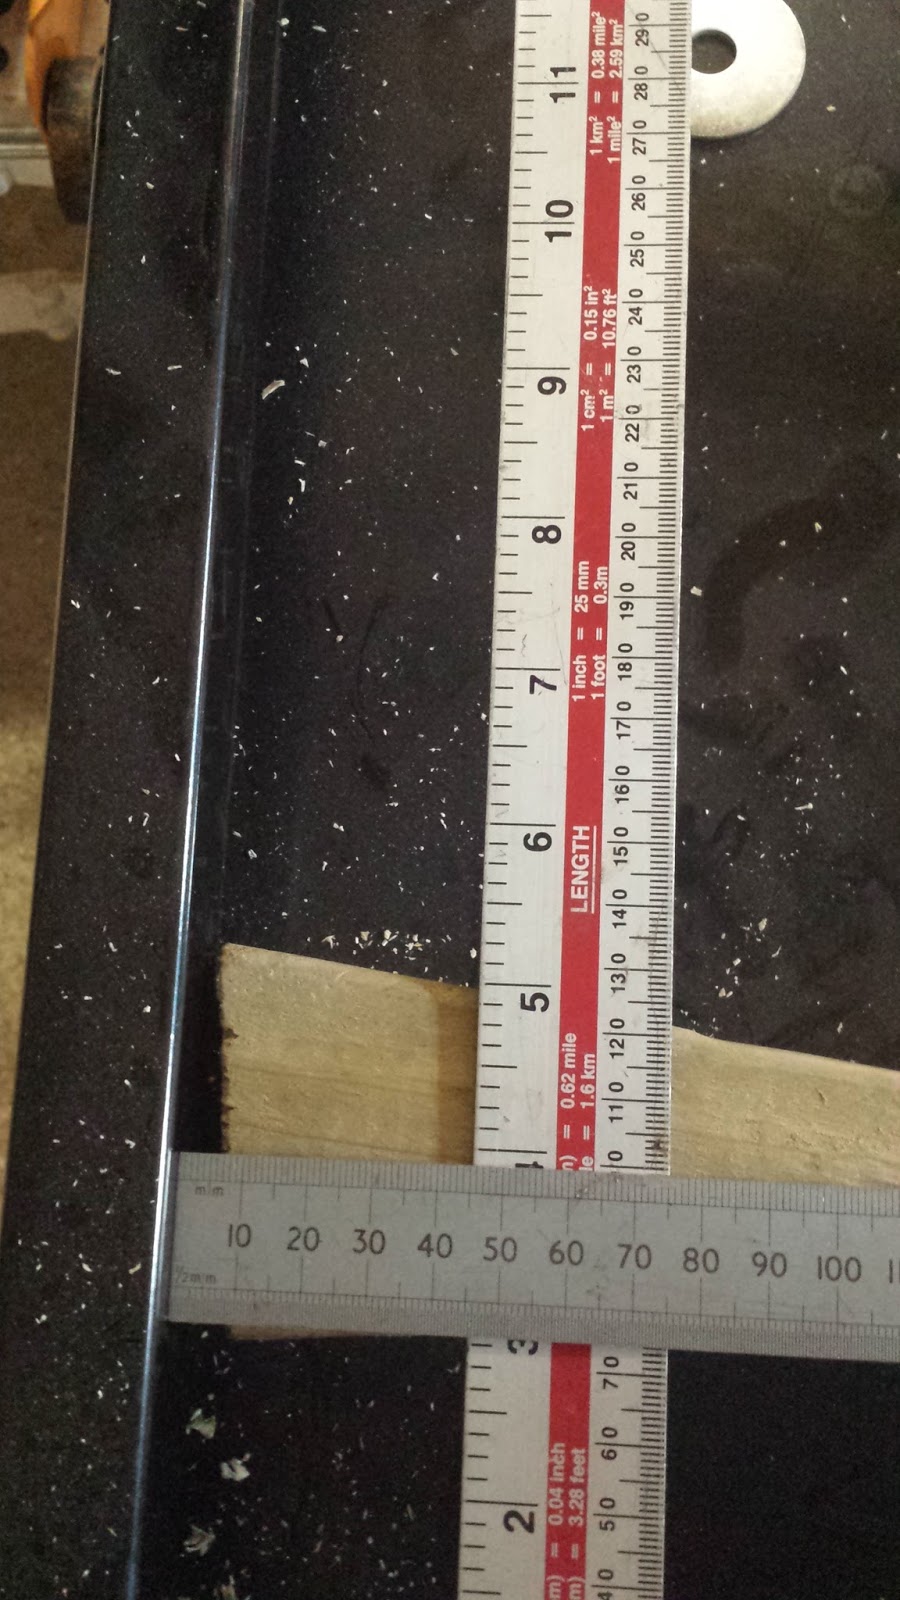
Here's an example of my first flares. Top one is a bubble flare for going into "T" pieces and bottom one is double flare.
 These took me about 5 mins to do as a quick trial. The tool comes with instructions and my advice is to follow them i.e. the prep of the pipe before creating the flare makes all the difference to the end result.

My Brake Master Cylinder has only 2 outputs, so I have to use a "T" piece to split the pipes for the front brakes. Oh, by the way, I'm using Kunifer brake pipe (copper and nickel) instead of the standard copper as it's more resistant to "work hardening" (becoming brittle when bending). I had no trouble bending or working with it.

Other builders have used plastic pipe over the  piping when it comes to corners and where it touches the chassis. I didn't like that idea so I just kept the pipe away from the chassis !
 I'm spacing my P clips every 150 mm as it hold the pipe nice and rigid in place ( well I will be when i get more clips)


Here's a tip for you'll. 
When drilling the holes for the tunnel panels, I spaced them at 150 mm, and drilled all the way through the square tubing, that way it gave me the holes to attach my p clips for my brake pipes without wondering how i would get my drill in such a small space.

4 way union for rear brake pipes nd brake switch.
p.s. Don't use masking tape to protect your chassis !!

Brake pipe going to rear braided hoses.

SUMMARY
Before cutting any pipe I thought through how I wanted the pipes routed, how will it look, will it get in the way of any other components, will the bends be too tight.
I used thick cord (about 5 mm thick) to trace the route, cut the pipe and flared the ends with relevant connections. Where it came to bends, I used some thick (again approx 5 mm thick) earthing cable which held the shape well and transferred that to the pipe.

Wednesday 29 March 2017

Scuttling along....

Whilst i'm waiting for the money pot to build up again, I've been doing what i can with what I've got. So, lets build the scuttle.

I started by marking the centre of the scuttle and how far the firewall will be from the front edge by aligning the alignment tabs 
(the firewall tabs are bent towards the engine bay)

I then clamped the two together and started to drill and rivet from the centre out.

 As I reached the curved part of the firewall I bent the sides of the scuttle to match the curve of the firewall (sorry, wrong pic, correct one missing )

 Using three bungy cords together with clamps worked quite well in holding everything together.

 I then temp clamped the scuttle to the chassis and applied the alpha adhesive and let it set over night.


The next stage was to bend the tabs of the dash support.....


line up the centre ( indicated by a nipple on the scuttle and dash support ) drill and rivet moving from the centre outwards. I used 6mm coutersunk rivets here. When drilling and riveting, keep the rivets to the front edge of the scuttle, as once done the protruding part of the rivet can be ground flush and trim can be fitted hopefully without it looking too bumpy.

Here's the finished article

I then applied Alpha adhesive and again let it set over night.


The dash temp fitted


Now that the scuttle is built, I thought I may as well play with my new tool, the Rivnut gun / Threaded Nut Riveter !!


 Well, I had never used one of these before, so here is a quick tutorial.

Choose the appropriate rivnut and mandrel to use.

Ok, STOP Make sure that you screw the threaded part of the mandrel into the tool fully ( reverse thread ). There is a spanner supplied with the tool in the handle. Then screw the knurled nut on. If you don't do this, when you fit the rivnut to the chassis and apply force, it will strip the thread of the mandel ( ask me how i know ).

Fit your Rivnut onto the mandrel.

Drill your hole into the chassis making it a tight fit for the Rivnut

Place Rivnut gun with Rivnut into hole ( a tip from a colleague is to apply a dab of thread lock on the rivnut ) and squeeze.

If you need more tension on the rivnut, turn the knurled knob indicated clockwise and squeeze a little more. Once happy, turn the knob anti-clockwise to unscrew the mandrel from the rivnut.

Easy when you know how


Ready for the scuttle ( p.s. these are the bolts that held the donor wings on 😉 )


Sunday 26 February 2017

Spot the DIFF.. erence

Carrying on with the overhauling, here's a bit more.

These are the disc that came on the donor, they were recently fitted, so i thought for now i'd give them a clean. Maybe at the end of the build i'll replace them with some cross drilled ones. 

Yep, there are two more.

Here's the Diff before


And here it is after and modified


Here are some pics on how i set up the diff to cut off the wings and mark the fixing holes.

I set up a string line along the length of the chassis to establish the centre line.


I then used a long rule across the diff flange and adjusted the diff so that the ruler was parallel to the rear chassis rail


My measurement came out at 45mm each side + - 2mm. 
I then used clamps and bungy cord to hold the diff in position. 


As you can see my plumb line isn't exactly in the middle of the flange, but i believe it'll be within tolerance. The flange should be at 90 degrees to the chassis bottom.


Once happy with my positioning, I used an 11mm drill bit to mark the top of the diff to mark for my mounting holes.